Ontario Epoxy Floor Contractor

Step 1

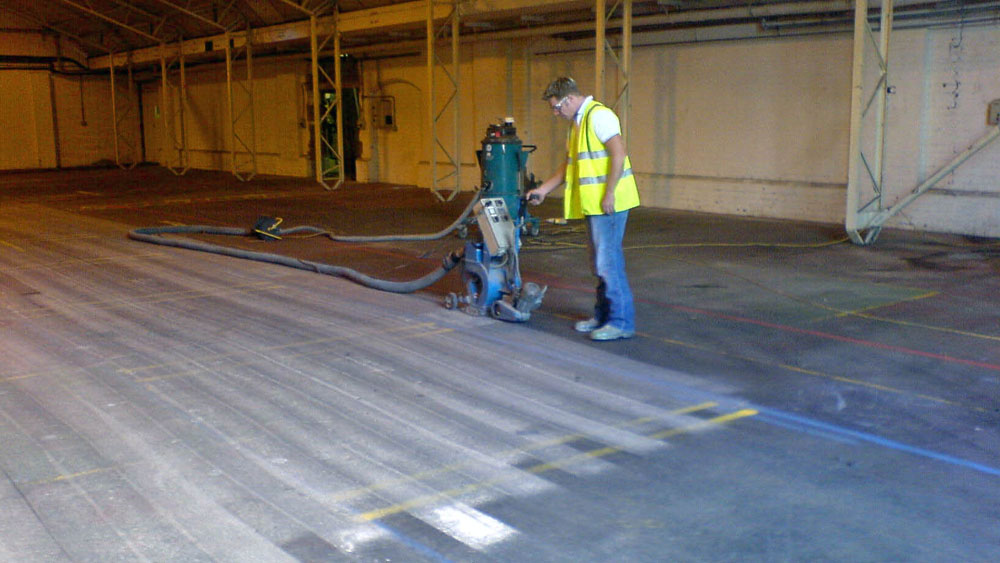
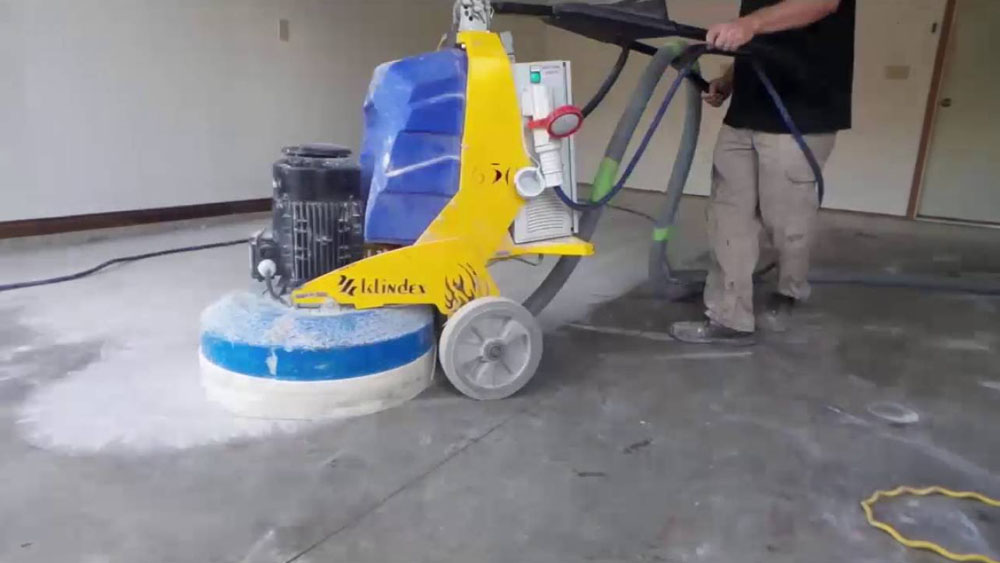
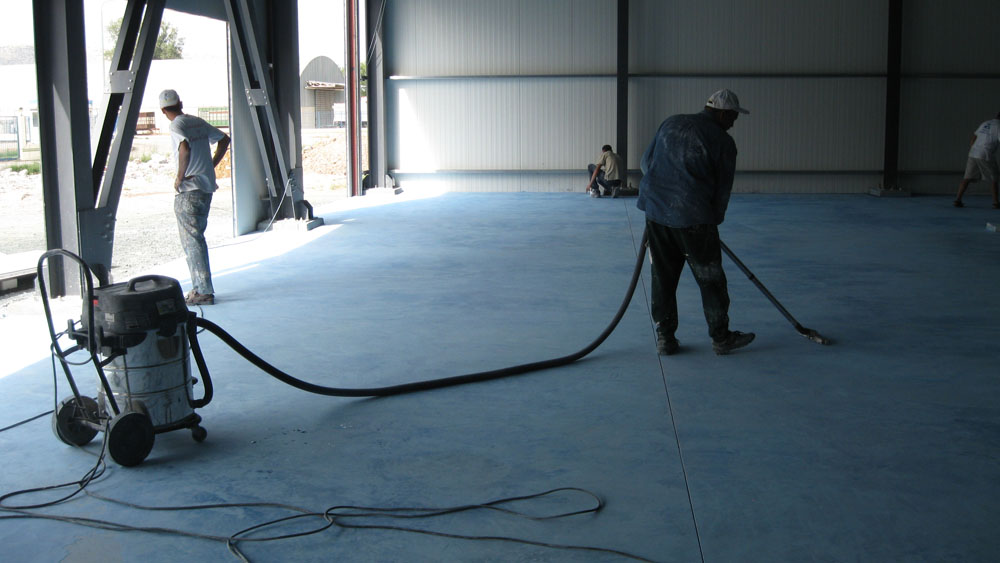
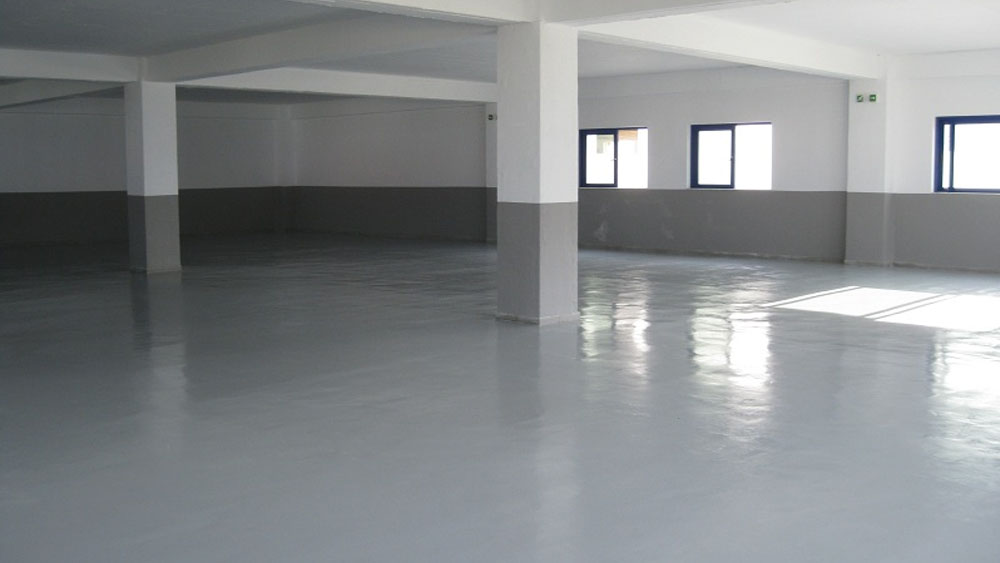
Surface cleaning and preparation of the surface of the Ontario home floor is very important for the epoxy product to bond best with the surface. Ontario homeowners use shot-blasting to clean, strengthen and polish the surfaces of their home floors. It also allows the epoxy primer to penetrate the surface for a strong chemical and mechanical bond with the floor of your home in Ontario.

Grinding

In Ontario, we also use grinding to prepare the home floor before applying the epoxy product. Grinding corrects irregularities and imperfections on the surface by opening the pores of the Ontario home floor, lightly texturing the surface and removing paints and thin coatings. Hard to reach areas are diamond-grounded. As with other steps in the preparation of the floor of your Ontario home, sweep and clean the surface before grinding.

Patching

Ontario homeowners use the highest quality polymer-modified patching compound available to epoxy floors to patch irregularities on the surface of the floor. Minor damages on the Ontario home floor caused by harsh conditions and unsuitable materials should be patched before applying the epoxy. After patching, surface should be grounded smooth.

Epoxy Primer

Priming is a very important part of surface preparation of the Ontario home floor because it reduces the risk of bubbles and gasses, to create the best possible adhesion between the epoxy and the floor. Priming also gives longer life to the new epoxy floor in your Ontario home. Although priming is often disregarded by many because of the extra day of work and the additional cost involved, contractors and homeowners in Ontario recognize priming as a very important part in the preparation of the floors of their homes. By penetrating deep into the concrete surface, a primer ensures a better chemical and mechanical bond between the epoxy and the Ontario home floor.

Step 2

Sweeping and cleaning of the floor

Thoroughly clean the surface of your Ontario home floor by dry compressed air or by vacuuming blast and sanding residues. You can also use a brush or broom if necessary. With proper cleaning and preparation of the floor of your Ontario home, a strong bond between the epoxy and the surface is guaranteed.

Epoxy Floor Priming & Filling

Step 3

Prime the floor with a suitable epoxy primer

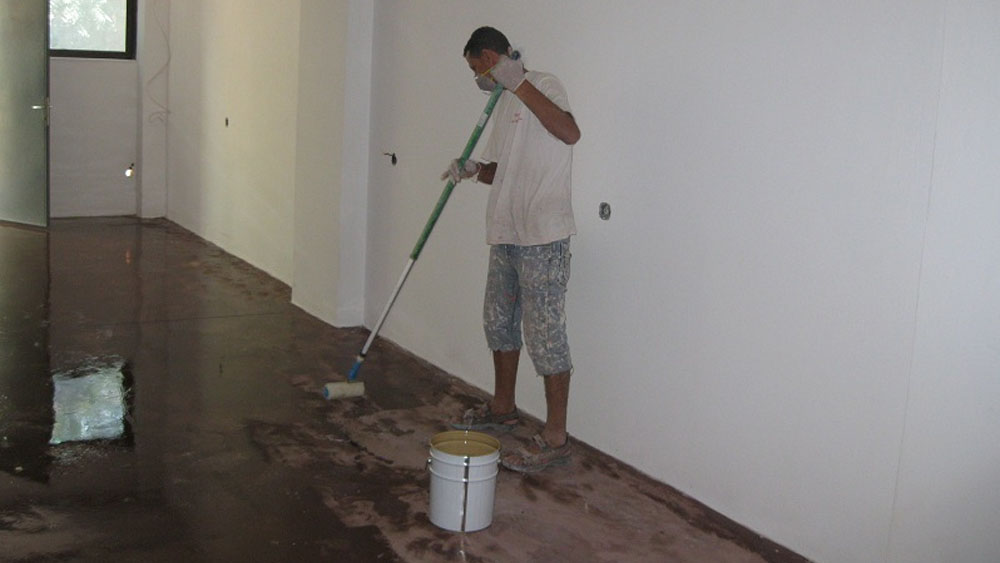
For a better bond between the epoxy and the floor of your home in Ontario, be sure to include priming in the surface preparation. A very important part in preparing the home floor before the application of the product, priming reduces breaking and chipping of the floor. It also reduces bubbles especially in thicker coats where air trapped in the concrete slab causes gas bubbles and pinholes to form on the new epoxy floor. Allowing a better bond between substrate and the floor coat, priming also gives your new Ontario epoxy floor longer life.

Step 4

Fill all cracks, holes etc with epoxy grout

Use an epoxy grout to fill holes and cracks on the Ontario home floor before priming. Use a diamond cutter to slice small cracks to create a strong bond between the home floor and the grout. Filling is necessary to ensure a smooth surface before the epoxy is applied.

Applying The Epoxy Floor Coating

Step 5

Application of the first coat of epoxy paint

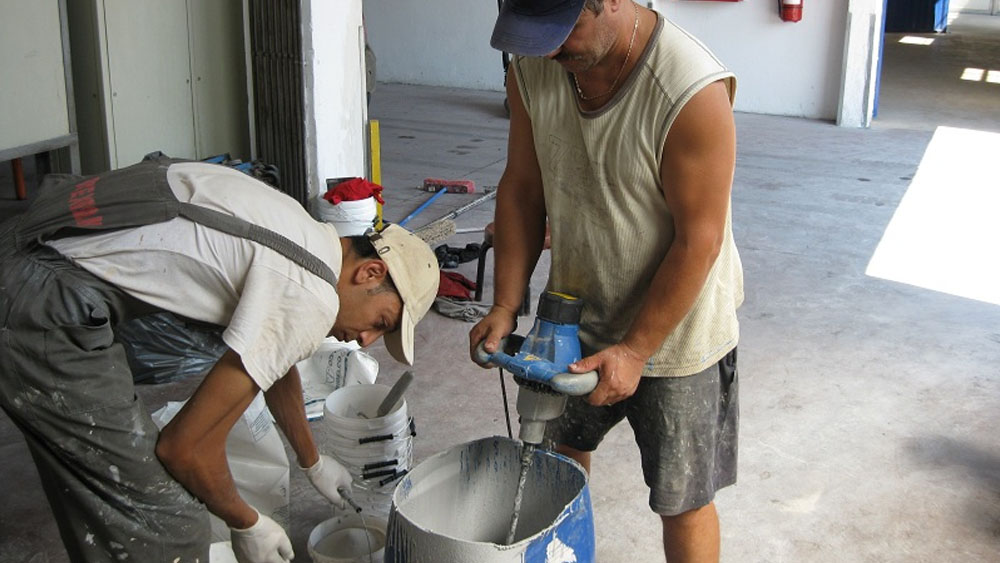
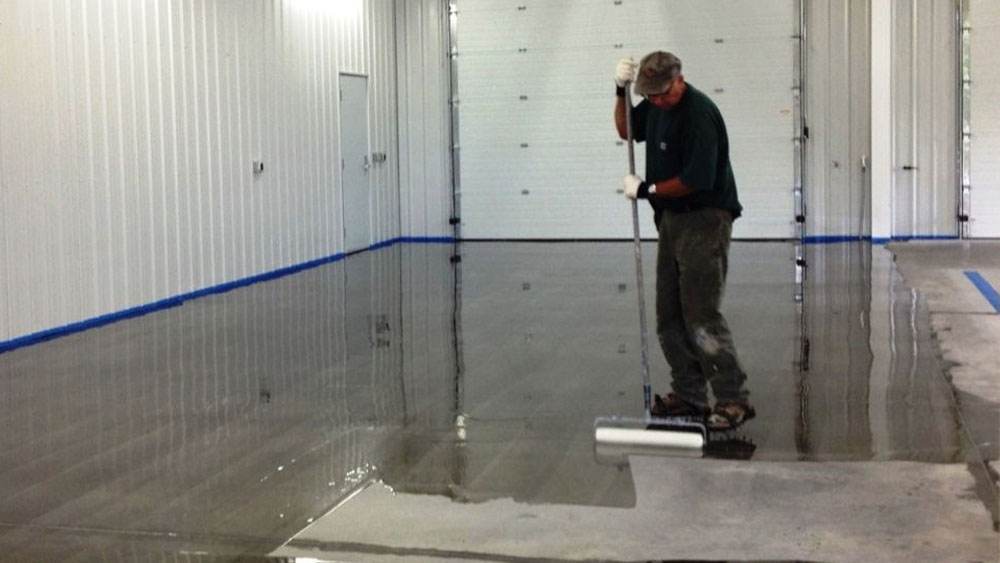
Using an electric mixer, blend the two epoxy components to create a nice consistency that results to a new Ontario epoxy floor that will properly harden. Continuously stir the mixture and make sure that no air is introduced into the mixture to prevent air bubbles from forming on the new epoxy floor. A thorough blending of the mixture creates a smooth surface and prevents a tacky finish of the new epoxy floor in your Ontario home.

Step 6

Apply the product with a roller

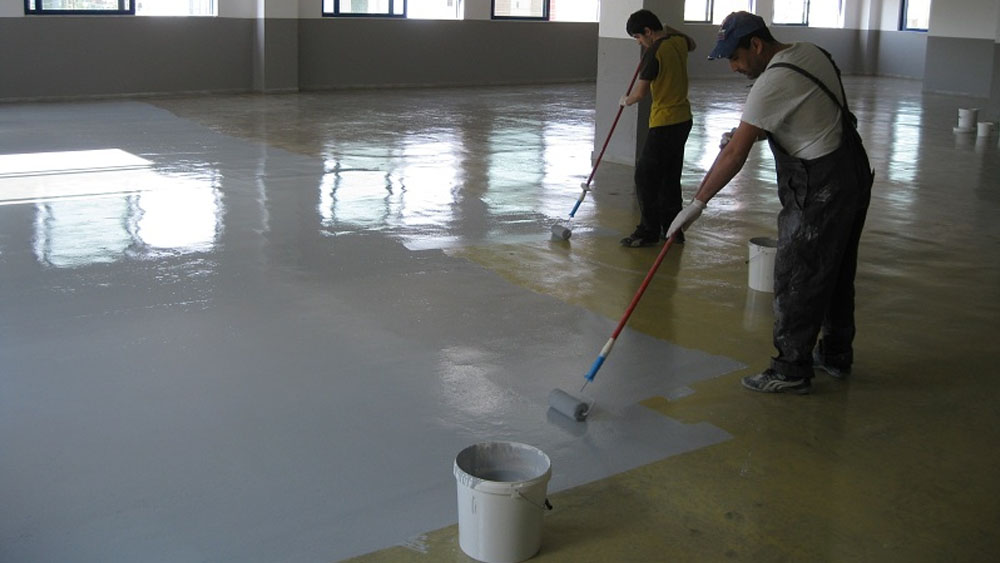
Cheap rollers often shed and leave small hairs and shreds of the material on the surface so when applying the Decorative Concrete Ontario Epoxy, make sure to use high quality rollers. Also do not try to re-use rollers when applying additional coats. Let the coating dry for about 24 hours or follow label directions. Before applying the final coating, seal-fill all small holes and cracks. Also check for bugs, dust and debris to prevent imperfections in the final coat.

Last Epoxy Flooring Procedure

Step 7

Apply the final coat

Make sure to mix one bucket of Decorative Concrete Ontario Epoxy and use it immediately because these products have a pot life of just about 40 minutes. Remove all dust and debris before applying the final coat of the epoxy floor to ensure a smooth surface without irregularities.

Professional

Epoxy Flooring

We're not just good

WE'RE THE BEST

By using our site, you acknowledge that you have read and understand our Privacy Policy.   ×